
Welcome to the Revolut Terminal documentation! This guide covers everything you need to know about ordering, setting up, and using your Revolut Terminal. It features step-by-step instructions along with troubleshooting tips, and important information regarding warranty and returns.
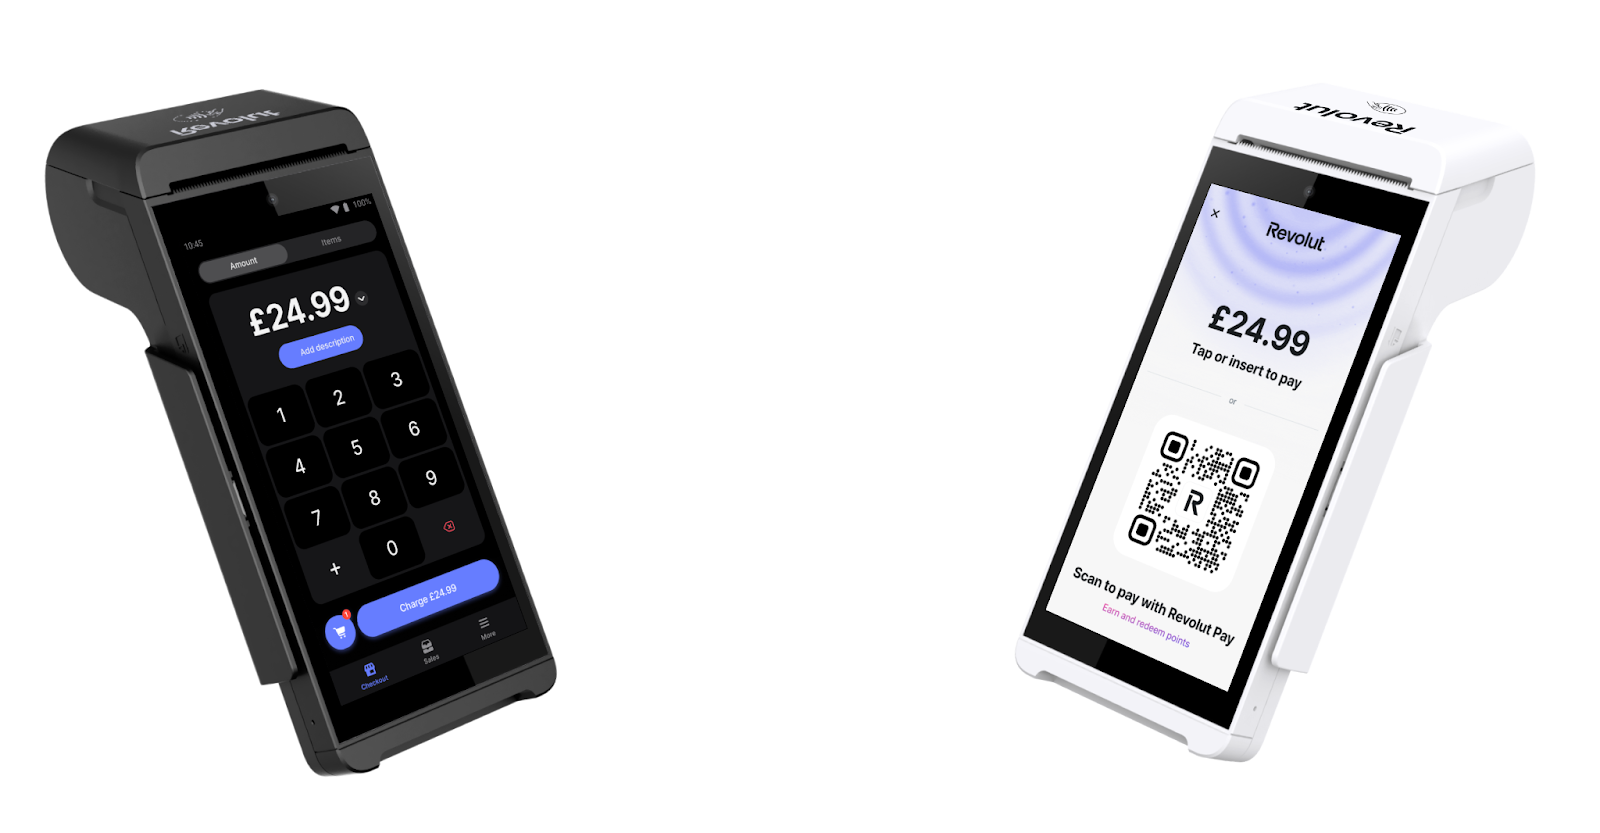
Key features
Seamless setup
Quickly set up your device with your Revolut Business account
Versatile payment options
Supports major payment methods, including Visa, Mastercard, and AMEX (UK only)
Pre-authorisation
Hold funds on a customer's card for up to 30 days before capturing the final amount - suited for hotels, car rentals, and other services where the final charge is determined later
User-friendly interface
Intuitive design that simplifies terminal activation, login, and everyday transactions
Robust security
Enhanced security measures, including multi-factor authentication and a dedicated 4-digit terminal passcode
Comprehensive support
Detailed troubleshooting guides, FAQs, and warranty information to keep your terminal running smoothly
For POS integrators
If you're a 3rd-party Point of Sale (POS) software provider looking to integrate Revolut Terminal with your system, we provide a dedicated server-to-server integration that allows you to push payment intents directly to Terminal devices.
Key capabilities:
Push Payments
Push payment requests from your POS server to Revolut Terminal devices
Pre-authorised orders
Push pre-auth orders to the terminal for use cases requiring security deposits and extended holds
Server-to-Server integration
Connect via the Merchant API - no Bluetooth or cables required
Multi-terminal support
Support for multiple terminals across different locations
Flexible Workflows
Use manual capture mode for more flexible payment workflows
Learn how to push payments to Revolut Terminal
Server-to-server integration guide