
This guide helps you get off the ground: understand the account model and the next steps that fit your journey - with or without the API.
As a Revolut Business customer, you can open a Merchant account to accept payments directly through Revolut's payment solutions. A Merchant account is a sub-account of your Revolut Business account that unlocks the wider merchant toolset - accepting payments online, in-app, and in person, optimising your checkout, managing orders, reconciling reports, and monitoring activity through the Merchant API.
Revolut Pro users can also accept payments with selected Revolut products - there's no separate Merchant account to apply for.
Check the Revolut Pro section of your Revolut app for the features and products available to you.
How it works
Your Merchant account is a sub-account of your Revolut Business account. It shares your business identity but adds the capabilities you need to take payments from your customers.
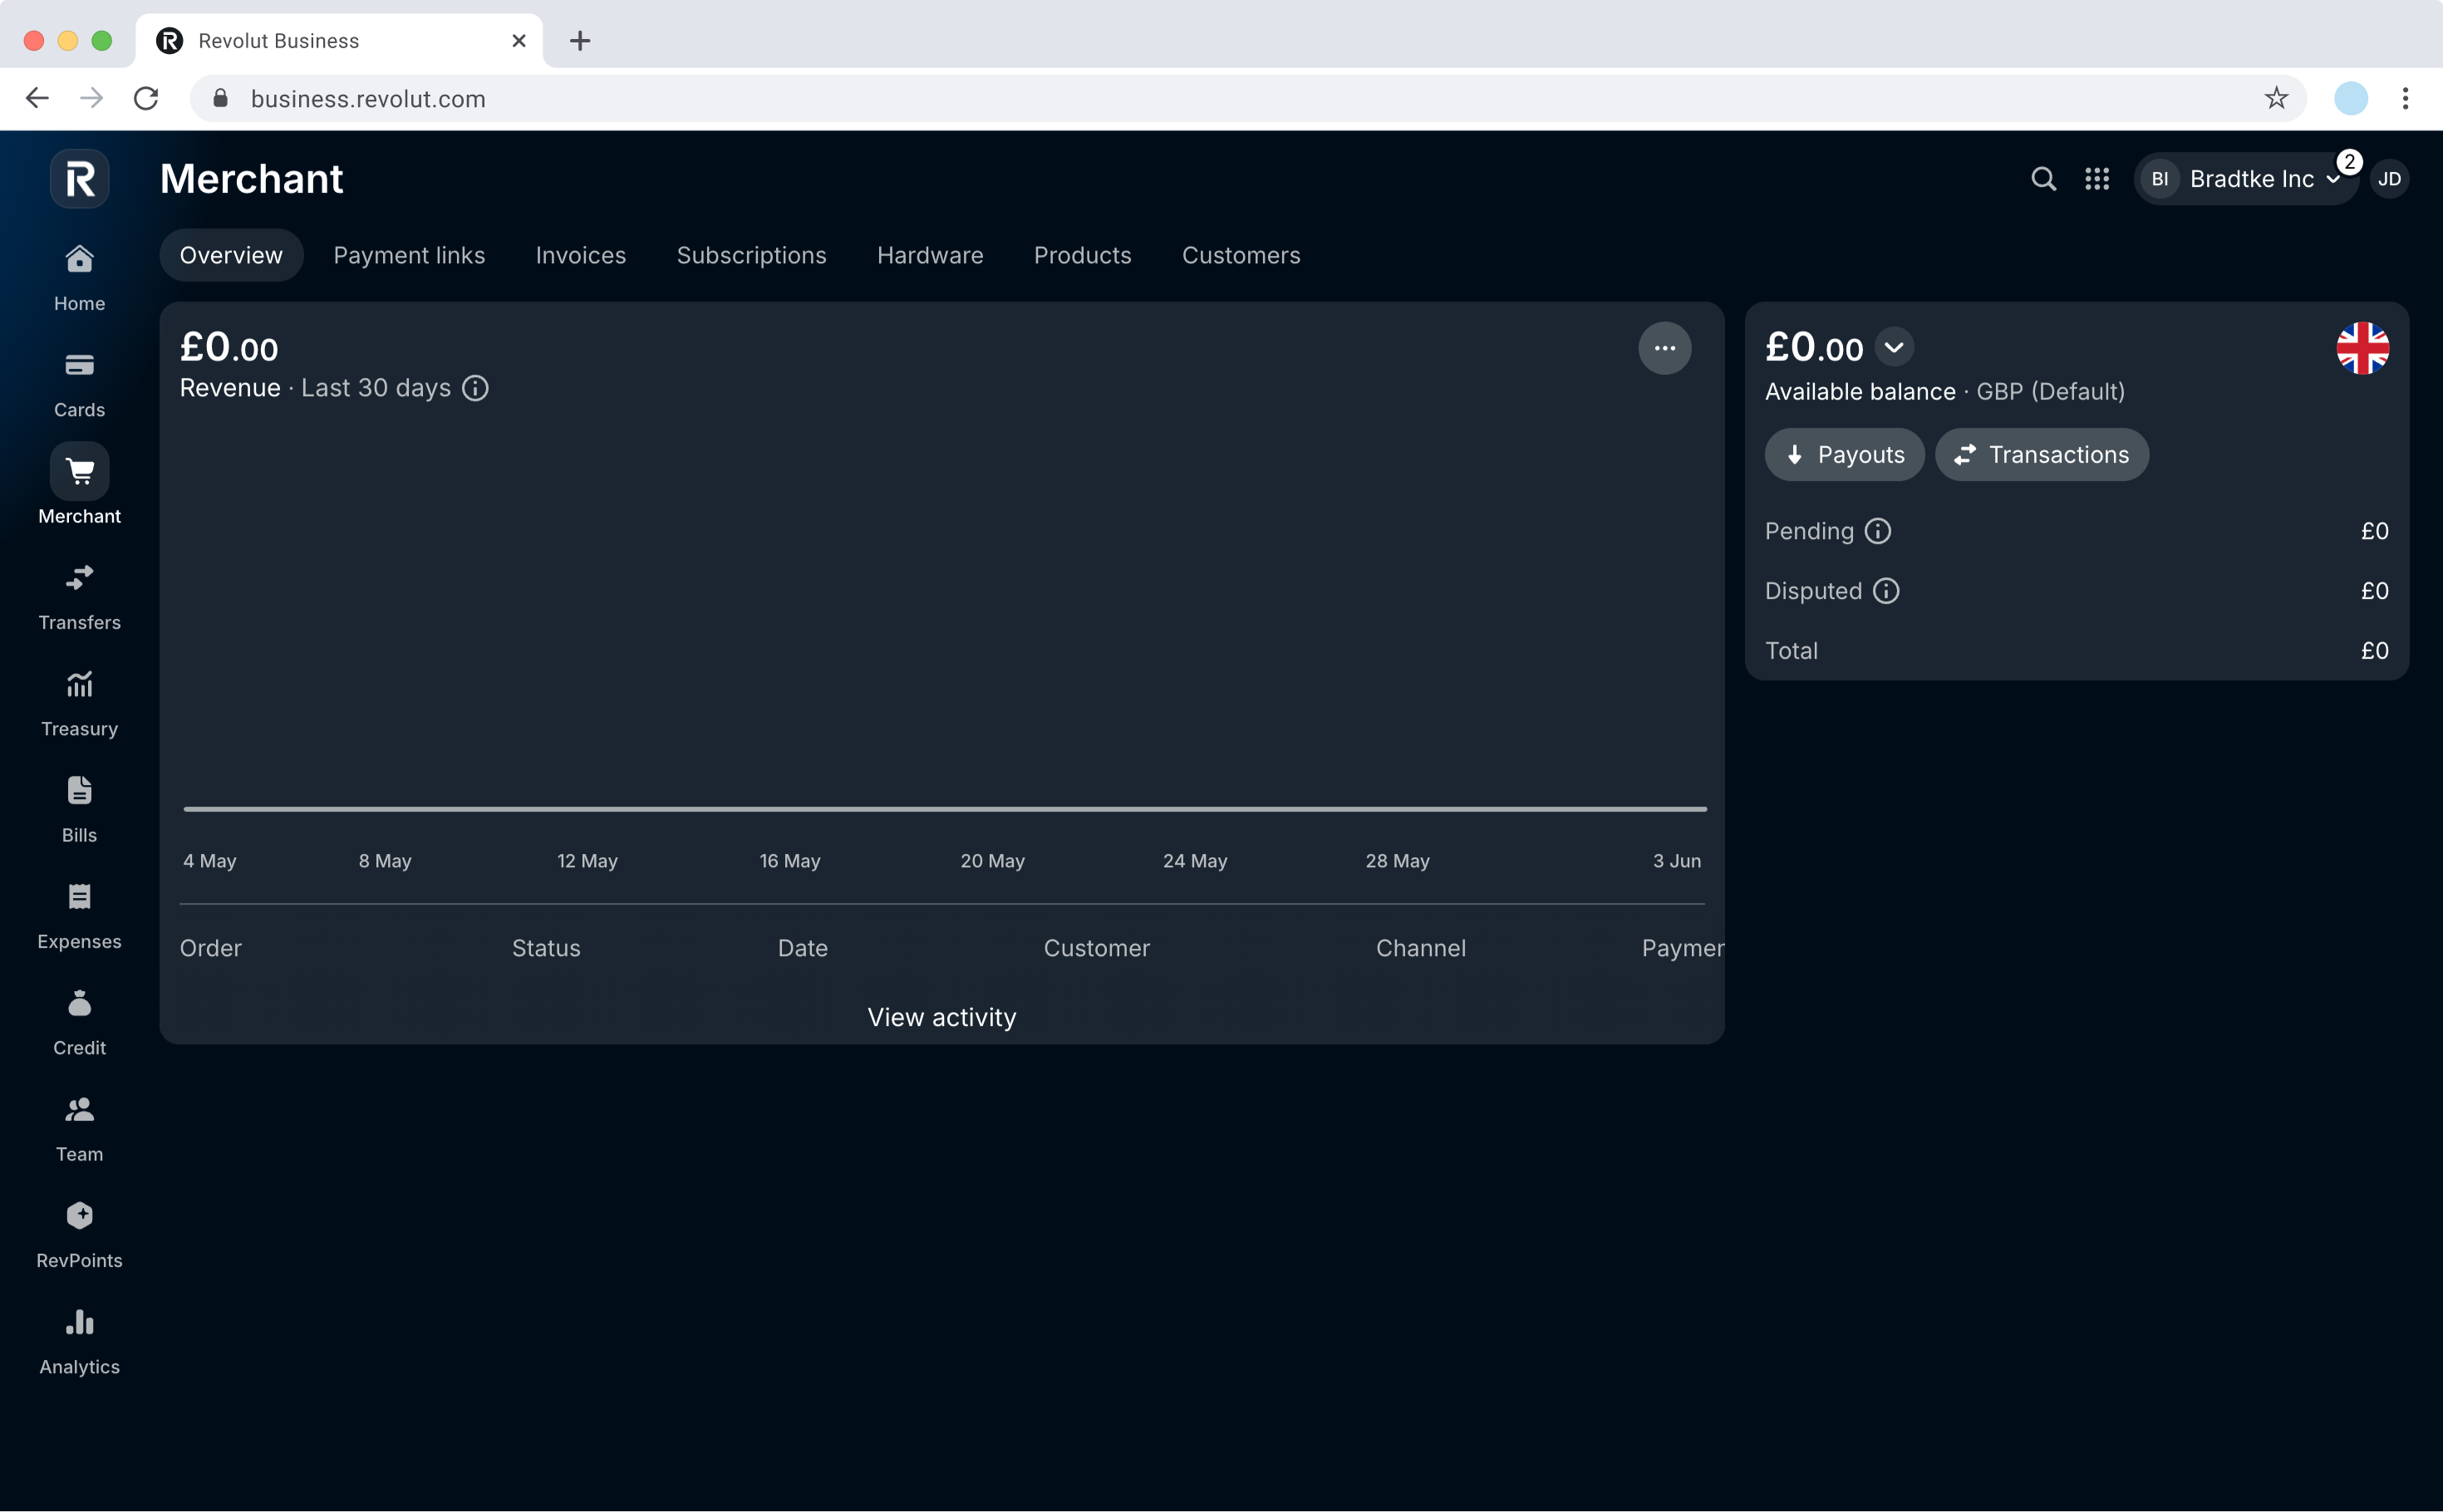
Merchant vs. Business
The following table lists the different features of both accounts:
| Merchant account | Business account |
|---|---|
|
|
What you can do
Your Merchant account supports several ways to accept payments. Pick the one that matches your resources and how much you want to build after you're set up:
| Integration path | Description | What to expect |
|---|---|---|
| No-code plugins | Connect a supported e-commerce platform (such as WooCommerce or Shopify) via OAuth (your Revolut Business credentials) or an API key. | No development work required - lowest effort. |
| Direct online integrations | Build a custom online checkout with the Merchant API and our SDKs. | Requires development effort; gives you the most control. |
| In-person payments | Accept payments face-to-face with ready-to-use Revolut hardware. | Ready-to-use hardware available; advanced flows require a custom SDK or server-to-server integration. |
Before you begin
What you need depends on what you're planning to do:
- To start in Sandbox - a working email address and phone number. That's enough to create an account - in the API Console if you're building or connecting a plugin, or directly in Sandbox if you're not.
- To go live - a fully verified Revolut Business account, your business details (website, expected payment volume, merchant category), and confirmed eligibility (you meet the requirements to open a Merchant account for your region and business type).
Your journey
There's more than one way to start with Revolut Merchant, and you don't have to build anything if you don't want to.
You either build an integration - a custom checkout with the Merchant API, or a no-code plugin for your e-commerce platform - or you build nothing at all and take payments straight from your dashboard.
How you proceed depends on whether you need API keys. Building a custom integration, or connecting a plugin that asks for an API key? Start in the API Console. Just want dashboard features - payment links, subscriptions, invoices? You never need the API Console.
Find the journey that fits your needs:
| You want to... | Your journey |
|---|---|
| Build a custom integration with the Merchant API and SDKs | Build with API keys - start in the API Console and build in Sandbox straight away |
| Connect an online store on a supported platform, without writing code | Use a no-code plugin - connect via OAuth or an API key |
| Take payments without building anything | Dashboard only - payment links, subscriptions, and invoices |
| Keep using your existing API keys | Generate API keys - your keys now live in the API Console, alongside any new keys you create |
Both journeys start in Sandbox - a safe, isolated environment where you can try things out without affecting real money or live customers.
Applying for a Merchant account is an independent track: the Know Your Merchant (KYM) review runs in parallel and only gates your move to Production.
This journey is for merchants with their own codebase and development resources. You embed Revolut payments directly into your product, on two sides:
- Server-side: call the Merchant API with your API key - create and manage orders, capture payments, handle refunds and disputes, and track events with webhooks.
- Client-side: embed the payment experience in your checkout with our SDKs for web, iOS, and Android - Revolut Pay buttons, card fields, or a full checkout widget - configured with your SDK key.
Create your Sandbox account
Create an account in the API Console and choose Sandbox when prompted. This new Sandbox account is all you need to start building.
Get your Sandbox credentials and API key
Your default Sandbox account is ready to use - it comes with Sandbox credentials for logging in to sandbox-business.revolut.com, and a pre-generated full-access API key you can use for your API calls. If you need more keys or different permissions, create an API key.
Build and test your integration
See Environments, Set up test environment, and Sandbox test scenarios. If you're connecting an e-commerce platform, start from No-code integrations.
Apply for a Merchant account in parallel
Apply for a Merchant account while you build - the review process runs in parallel and only gates your move to Production.
Go live
Once your account is approved, create Production API keys, point your integration at the Production endpoints, and start accepting real payments.
Generate API keys
All your API keys live in one place: the API Console, where you can see both your Sandbox and Production accounts. Your Sandbox account comes with a pre-generated full-access API key, so you can build straight away. When you go live, create a Production API key - a key created without signing keys is shown only once, so store it securely. The full walkthrough covers permissions, signing keys, expiry dates, and IP allowlists.
Your keys and where to use them:
| Key | Where to use |
|---|---|
| SDK key (the Public key) | Provided with payment methods at checkout (client-side). |
| API key (the Secret key) | Used in the Authorization header for all server-side API calls. |
Existing API keys have been migrated to the API Console - you find them alongside your new keys. They keep working as before.
Some plugins connect via OAuth - your Revolut Business credentials - so you don't need an API key at all. Others connect using an API key.
See No-code integrations and your plugin's guide for its connection method.
Apply for a Merchant account
Once you have a fully verified Revolut Business account, go to business.revolut.com/merchant. To start your merchant onboarding, provide your business details (website, expected payment volume, merchant category), and submit your application.
Submitting your application triggers a Know Your Merchant (KYM) review process, where Revolut verifies the details you provided to align with regulatory requirements. This is standard for all new Merchant accounts.
- Approved: you receive an email notification and can access your Merchant account right away.
- Rejected: you receive a notification with the reason - address the issue and reapply.
For questions or assistance, reach out to support via the in-app chat.
How payments work under the hood
Every integration path - a custom checkout, a no-code plugin, an in-person POS, or a dashboard feature like a payment link - runs on the same engine: the Merchant API. The same resources model every purchase, whatever you build on top of them:
- An order represents the purchase - your customer's intent to buy, with the amount, currency, and basket details.
- Payments are the attempts to pay for that order. A card can be declined and a retry with a different method can succeed - both are payments tied to the same order, which completes once one succeeds.
To understand how orders and payments move through their states, see Order and payment lifecycle.
What's next
You've got the full picture now - the account model, the journey you're taking, and how payments work under the hood. Here's where to go next: